If you’re looking for a sustainable way to prepare hot meals in remote or off-grid locations, a DIY solar oven is the solution you’re looking for.
It allows you to cook food outdoors efficiently, using only the energy from the sun!
You can build a low-cost, portable DIY solar oven with the proper materials. Don’t worry; it’s both easy to build and use.
In this article, we provide you with a step-by-step guide on how to build your solar oven.
We cover the materials you’ll need for the project and the steps you must take to build a practical DIY solar oven.
Additionally, we provide a few tips on how to use your solar oven efficiently.
Climatebiz experts design, research, fact-check & edit all work meticulously.
Affiliate Disclaimer
Climatebiz is reader-supported. We may earn an affiliate commission when you buy through links on our site.
What Do I Need To Build A Solar Oven?
Here’s a list of all the materials you’ll need for building your DIY solar oven:
If you want to invest more time and money to build a more elaborate solar oven, you’ll also need wood to build a frame, tools to cut the wood, a drill, and screws.
Components of a solar oven
A simple solar oven typically consists of a cardboard box, aluminum foil, a piece of glass or Plexiglas, insulation or cotton padding, a thermometer, and a frame.
The box and the foil work together to reflect and absorb sunlight, trapping the heat inside the oven.
The glass or plexiglass keeps the heat trapped inside (without blocking the sunlight), while the insulation or cotton padding prevents heat loss.
Additionally, some solar ovens also use reflectors to direct more sunlight into the oven.
Different designs
There’s a wide variety of designs for solar ovens.
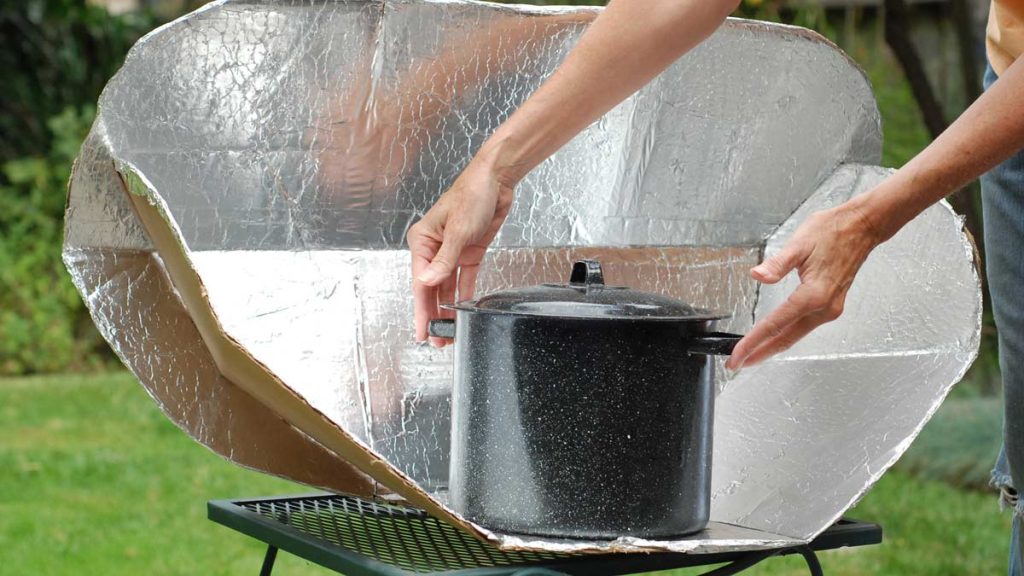
The most straightforward design consists of a reflective material (panel) put together in a way that directs the sunlight to a target (the pan/food). You can call it the “slow cooker” of solar ovens, as it doesn’t trap the heat “inside” the oven to speed up the cooking process.
However, it can create enough heat to cook food if you’re willing to wait long enough.
This is what it looks like:
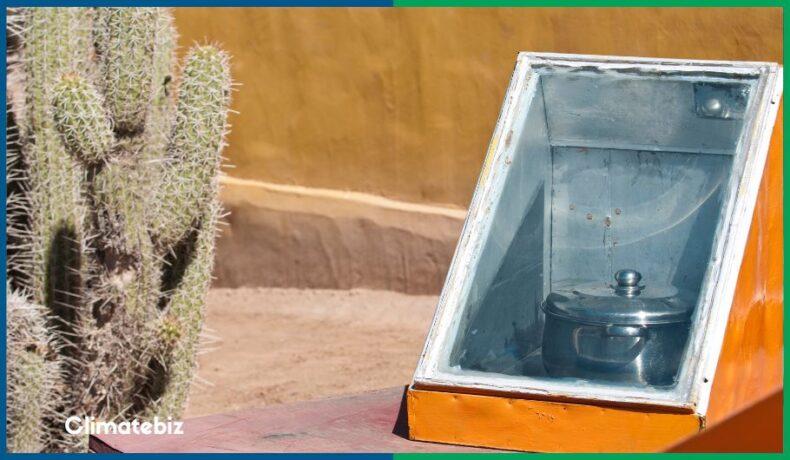
Now, suppose you’re looking for something more intermediate-level. In that case, a standard DIY solar cooker design consists of a cardboard box covered with aluminum foil and a piece of glass (or even plastic wrap or baking bags) on the top.
Adding flaps wrapped with reflecting material can make it more powerful.
Here’s an example:
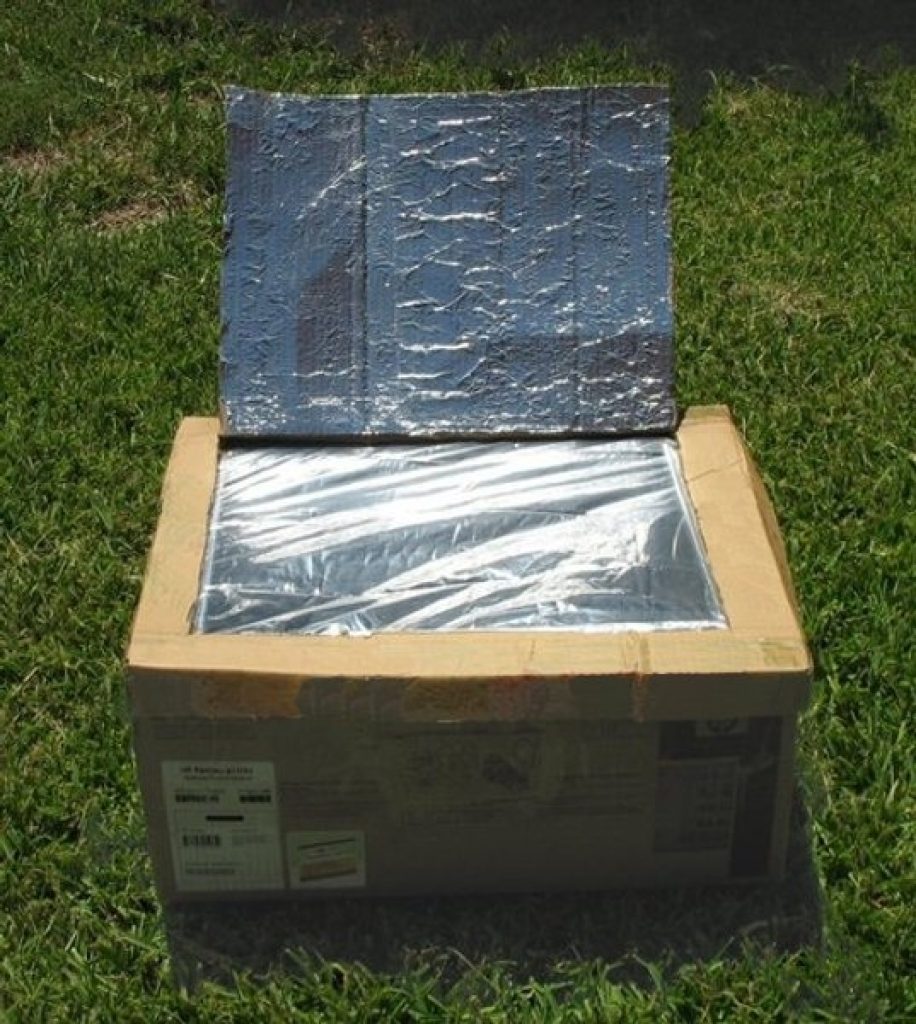
This type of oven is suitable for basic cooking as it can reach temperatures around 230ºF (110ºC) and up to 250ºF (121ºC).
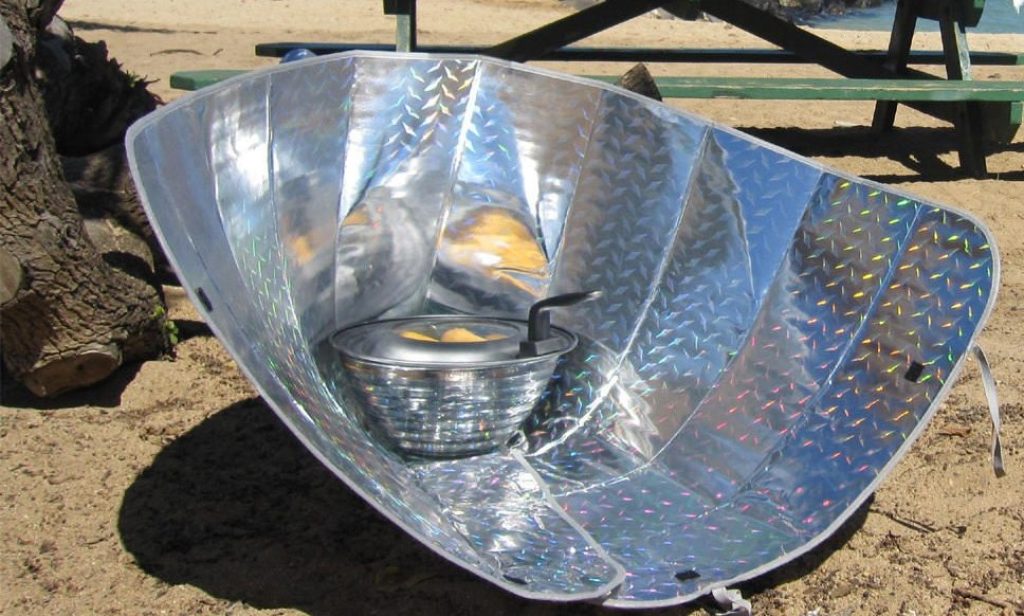
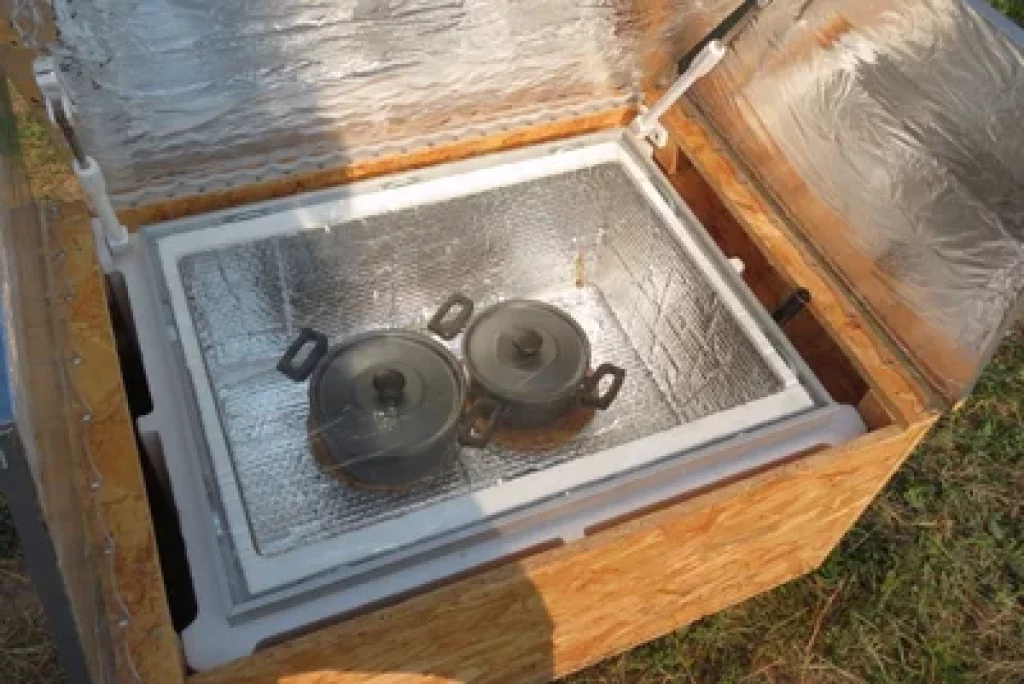
If you want a more durable and robust solar oven, you can build a wooden frame and use reflectors to direct more sunlight into the oven. This way, it can reach temperatures over 300ºF (140ºC).
This design will allow you to cook more complex meals:

In this article, we present a simple DIY solar oven design that’ll help you understand how solar ovens work. Additionally, we provide the tools to create your own solar oven design later.
How To Build A DIY Solar Oven
Step 1: Planning
Like any DIY project, you should start by setting up a plan.
Figure out the size of your solar oven. It should be big enough to fit the pan/pot/baking tray you plan to use.
For this project, you’ll need two cardboard boxes (one will go inside the other, with some insulating material between them).
Once you have your desired dimensions, it’s time to sketch your plan.
Step 2: Measuring and cutting
If you already have the cardboard boxes with the desired dimensions, great. If not, you’ll need to cut them to match the correct dimensions. You can use aluminum duct tape to seal the edges/corners.
If the inner cardboard box has flaps, keep them. You’ll convert them into reflectors later on. If not, you can make flaps using another cardboard box. Simply cut out the dimensions and use duct tape as hinges.
Step 3: Preparing the outer and inner boxes
The outer (larger) cardboard box is the main body of this solar oven, so it should be sturdy enough. Alternatively, you can build a wooden frame as the outer box.
Use black spray paint to paint the bottom (inside) of the inner box. Once the paint is dry, cover the inside of the smaller box with aluminum foil (only the sides, not the bottom). If necessary, use glue.
Step 4: Adding insulation
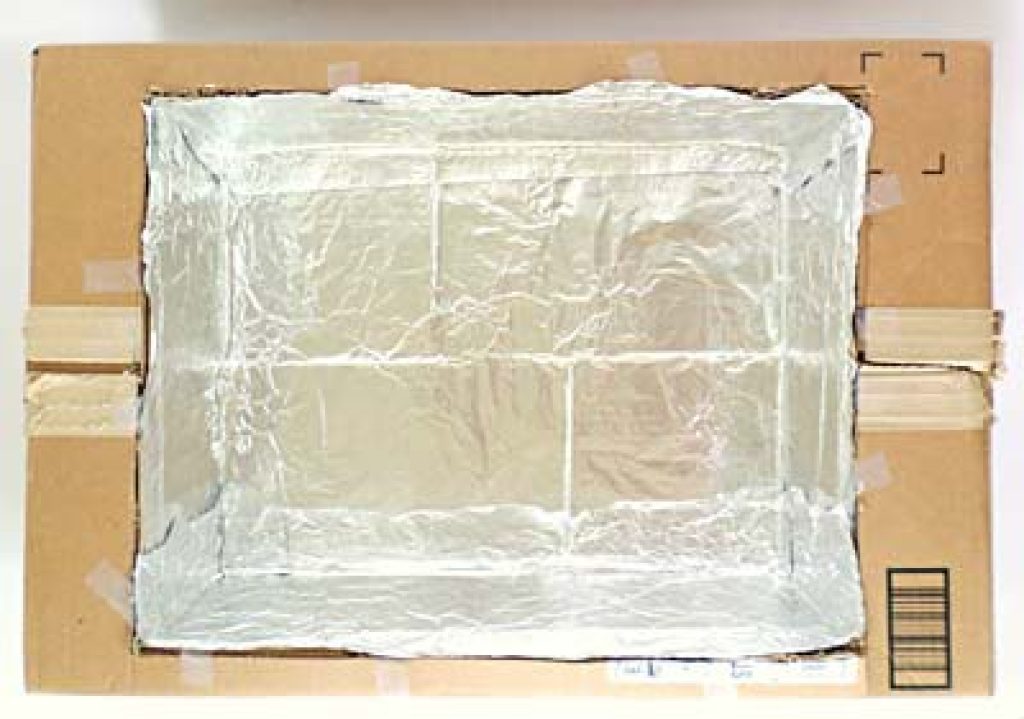
Place the smaller cardboard box inside the larger one, and fill the entire space between them with an insulating material. Make sure to insulate the bottom, too, not only the sides. Add enough to make it tight – the inner box shouldn’t be loose inside the larger box.
You can use shredded paper, cotton padding, pieces of cardboard, or anything that can act as a heat insulator.
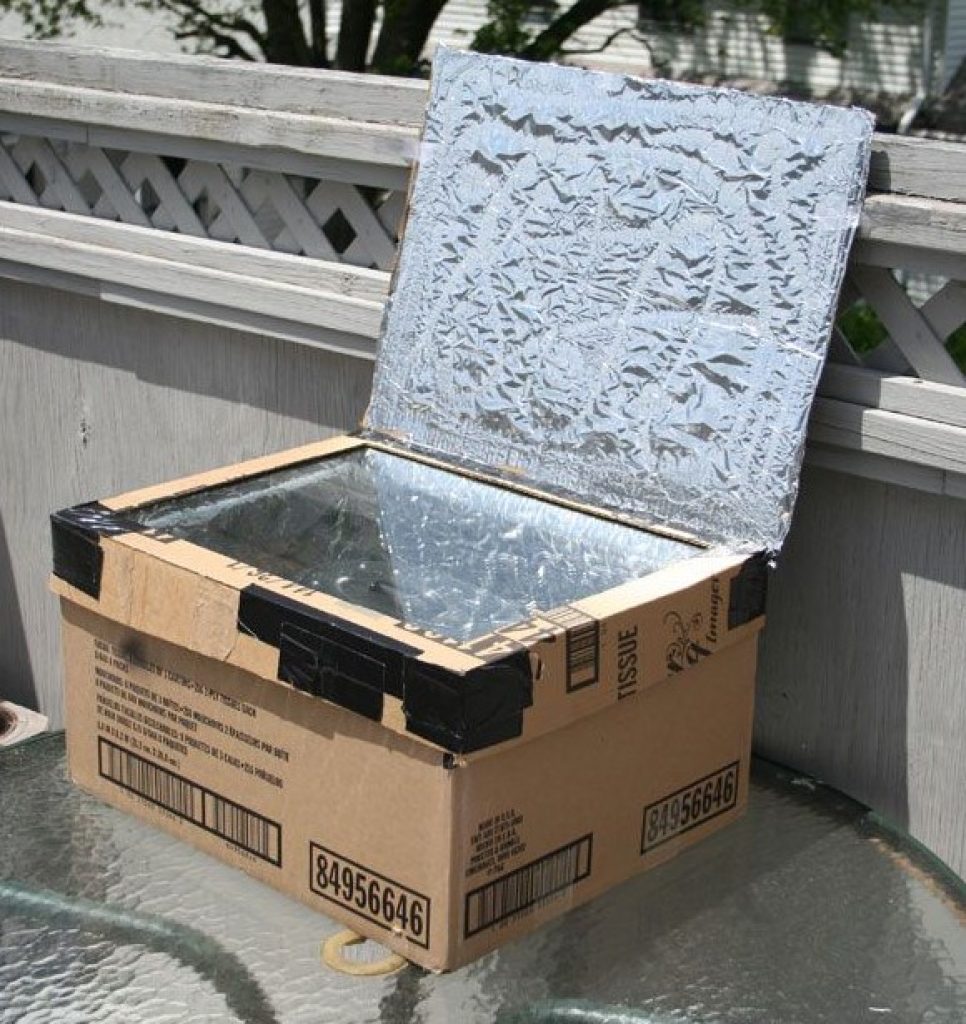
Once the insulation is done, you can use cardboard pieces to close the “gap” between the two boxes, so it essentially becomes one box. At this point, it should look something like this:
Step 5: Creating reflecting flaps
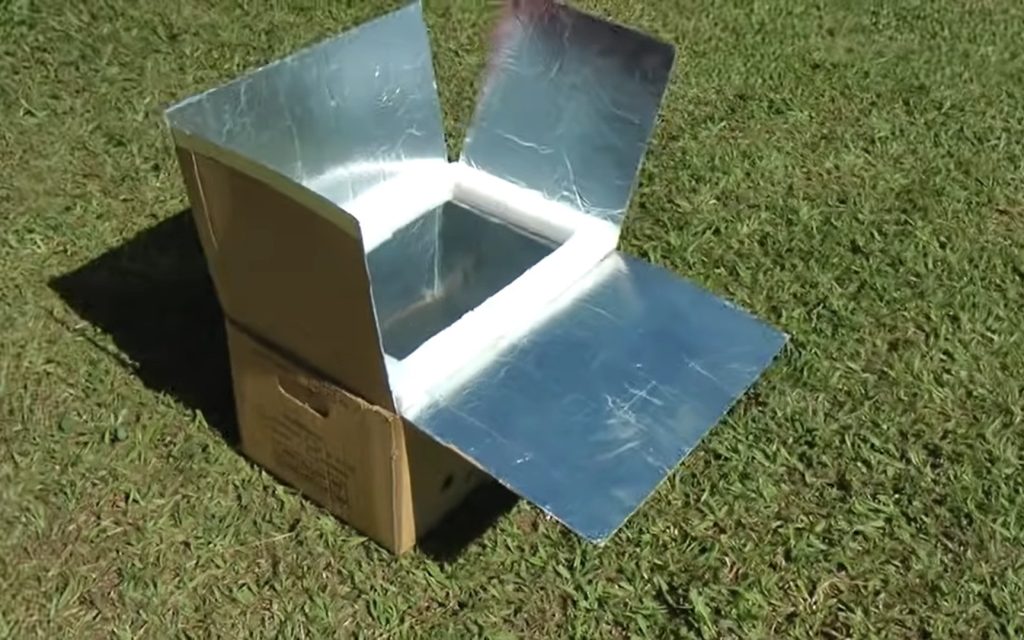
Wrap the inner box’s flaps with aluminum foil to reflect more sunlight into the oven. If the box doesn’t have flaps, use another cardboard box to cut pieces so you can use them as reflectors.
Use aluminum duct tape to tape the flaps to the edges of the box so it acts as a hinge.
In the end, it should look something like this:
Step 6: Make the top with plexiglass, glass, or plastic
To keep the heat inside the oven while letting the sunlight in, you’ll need to cover the top of the box with a transparent material, such as glass, plexiglass, or even plastic/plastic wrap.
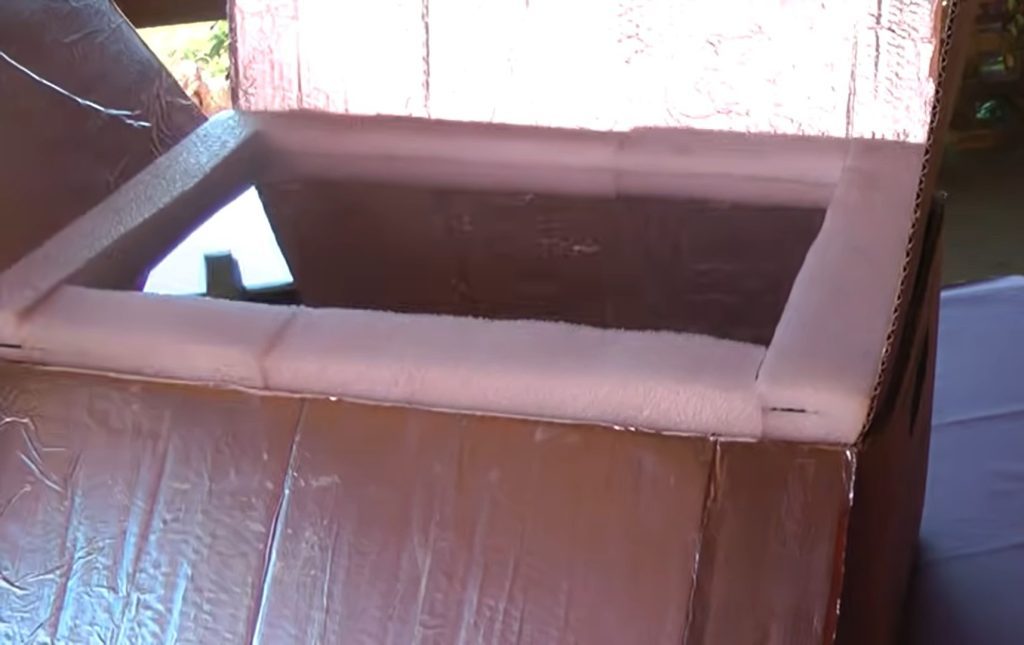
If you choose to use glass, you can use styrofoam/polyethylene foam to build a “frame” for the piece of glass, like this:
If you don’t want to use a glass top, you can cover the top of the oven with plastic wrap when you’re ready to use it.
Step 7: Using the solar oven
Once your solar oven is ready, place it outside under direct sunlight.
Adjust the reflecting flaps according to the position of the sun. Then, place the cooking pot containing the food you want to cook in the center of the oven.
Cover the oven with the glass top (or with plastic wrap), and that’s it – the solar oven will do the rest of the job!
You can place a thermometer inside the oven to monitor its internal temperature.
9 Tips for using a DIY solar oven
You can take some measures to get the most out of your solar oven cooking experience.
- Use black pans: Cover them with lids or aluminum foil. Dark-colored pots and pans will absorb more heat from the sun and speed up the cooking process.
- Placement is critical: Place the oven facing the sun and adjust the reflectors to maximize sunlight absorption.
- Monitor the temperature: Use a thermometer to monitor the oven’s internal temperature.
- Preheating: Preheat the oven before cooking —leave it under the sun for a while before placing the food. This will ensure the oven is hot enough when you place your food.
- Start cooking early in the day: The best time to cook with a solar oven is during the morning and early afternoon when the sun is at its strongest.
- Add extra insulation: If the oven’s temperature isn’t high enough to cook the food, try adding additional insulation layers to the frame.
- Cook in batches: To make the most of the heat, cook multiple items simultaneously (if your solar oven is big enough to fit multiple pans).
- Protect the oven from the wind: Wind can decrease the temperature in the oven, so make sure to place it in a spot subject to less wind.
- High temperatures: A solar oven can reach high temperatures, so be careful with the heat when you open/remove the glass on top of the oven (like you would with a conventional oven).
Final thoughts
Solar ovens are an effective and sustainable way to cook food without electricity or gas. What’s more, they’re pretty easy to build.
With the right materials and some spare time, you can construct your solar oven and start preparing fresh, home-cooked meals., all while saving electricity!
By following the steps outlined in this guide, you will be able to build a DIY solar oven that is efficient and simple to use.
So, start building your solar oven today and enjoy the benefits of cooking with the sun’s power!
Feel free to ask questions, share your thoughts, and make suggestions regarding this topic in the comment section below!